Showing posts with label Double Stitched Circles Die. Show all posts

Friday, November 18, 2016

~ Christmas Blessings and the Special Holiday Release at Our Daily Bread Designs ~

Happy Friday!  And as always, thank you for stopping by!  Today, I have a special post sharing a card featuring this month's special Holiday release, Christmas Ornament and coordinating Christmas Ornament Die...


Layer by Layer...

  1.   White Card Stock - 4.25 x 11 inches; scored and folded at 5.5 inches
  2.   Silver Card Stock mat
  3.   White CS mat
  4.   White CS - ODBD Snowflake Sky Die
  5.   White CS - Versamark & Silver Embossing Powder for ODBD image from Christmas Ornament
  6.   Die cut with coordinating Christmas Ornament Die
  7.   Silver Ribbon 
  8.   White CS - sentiment from Christmas Ornament stamp set embossed and die cut with       Double Stitched Circles Die
Thanks for visiting and pop back in a bit later today when I showcase a fun look back at this month's November release.  Blessings!

Thursday, November 10, 2016

ODBD ~ Jingle All the Way ~

Good morning and welcome to my weekly inspiration post for Our Daily Bread Designs.  Today, my project features a beautiful image from the November release, Jingle Bell Time.  I also incorporated the fun Snowflake Sky Die and Snowflake Season Paper Collection.  AND I added a fun bow...  I must admit I need more practice!  :-(


And the break down layer by layer...


  1.   White Card Stock base 4.25 x 11 inches, scored and folded at 5.5 inches
  2.   Cherry Cobbler Card Stock mat; slightly smaller than base
  3.   ODBD's Snowflake Season Paper Collection and Snowflake Sky Die for the cool candy cane     stripe layer
  4.   White CS & Cherry Cobbler CS - ODBD's Layered Lacey Ovals Die; used on rectangular         cuts and overlapped
  5.   Cherry Cobbler CS cut into a rectangle and edged with ODBD's Double Stitched Circles Die
  6.   Image stamped with Tuxedo Black ink; colored with Copics and die cut                with Double Stitched Circles Die
  7.   Offray Satin Ribbon 
And here are the items you see used here today...


and a few old favs...


Usually, I am pretty good about writing down my Copic colors but somehow this gem got off the crafting table without revealing the marker combos...  ***sigh***  I think I am a bit rattled as of late...  Until next time...  blessings!!!

Wednesday, October 12, 2016

WAW252 & WAW253 - Anything Goes Challenge

Good morning and welcome to a new bi-weekly challenge at Word Art Wednesday!  This week we have a wonderful digital image featuring scripture from Proverbs.  To find the digital scripture featured in today's post and how you can play along in this week's challenge visit the Word Art Wednesday blog.  But before you check it out, take a moment to look at the card I created using this week's featured digi!


Bit by Bit...

1.    Black Card Stock measuring 4.25 x 11 inches; folded at 5.5 
2.    Ecru Card Stock
3.    Pebbles Woodland Forest DP
4.    ODBD – Circles Die; Double Stitched Circles Die
5.    ODBD – Beautiful Borders Die
6.    Custom Dyed Seam Binding – Ranger Distress Ink Black Soot


Thanks for visiting!  Blessings...


Wednesday, June 22, 2016

Word Art Wednesday Challenge #236 and #237

Good morning and welcome to a new bi-weekly challenge at Word Art Wednesday
 Today we have a beautiful scripture from the New Testament, specifically 2 Corinthians.  And this one is perfect for your patriotic cards!  I love this time of year.  Memorial Day, Flag Day and the Fourth of July are some of my favorites.  I love seeing the red, white and blue bunting and Old Glory waving in the breeze.  This scripture is just perfect for those sentiments...  I chose some lovely patriotic paper and went to work...


I used a white card stock base (4.25 x 5.5) for my foundation, cutting a red layer of 4.25 and 5.5 inches, a slightly smaller white matting and finally a top layer of blue CS.  I chose a couple of coordinating designer papers from the Americana collection by Pebbles and cut out a center piece using Our Daily Bread Designs' Double Stitched Rectangles Die.  I cut two in two separate patterns and then split the difference.  I printed my scripture panel on white card stock and used another die from Our Daily Bread Designs, (Double Stitched Circles) to cut it out.  I added a flag DP strip before adding the sentiment panel with dimensional foam.  For my floral spray, I chose a white mulberry rose, 2 red roses and a couple of pale blue blossoms.  I used a couple of Martha Stewart punches from my stash to create two colors of green leaves and kraft twigs.  I placed them all together in the corner to mimic a spray...

So fun, don't  you think?  

Thanks as always for stopping by and don't forget to visit Word Art Wednesday for your own copy of the digital scripture and the link to play along!

Blessings...

Friday, February 19, 2016

A Look Back at ODBD's February Release

 Today we are taking a look back at Our Daily Bread Designs' February 1st release.  I created a tent card using Flourished Happy Easter stamp, new Little Lamb Die and coordinating older release Sheep Single Stamp.  I also used some of the new designer papers from the new Easter Card Paper Collection and Pastel Paper Collections. Be sure to visit the ODBD Blog for even more design team inspiration.  The links are listed after today's project.


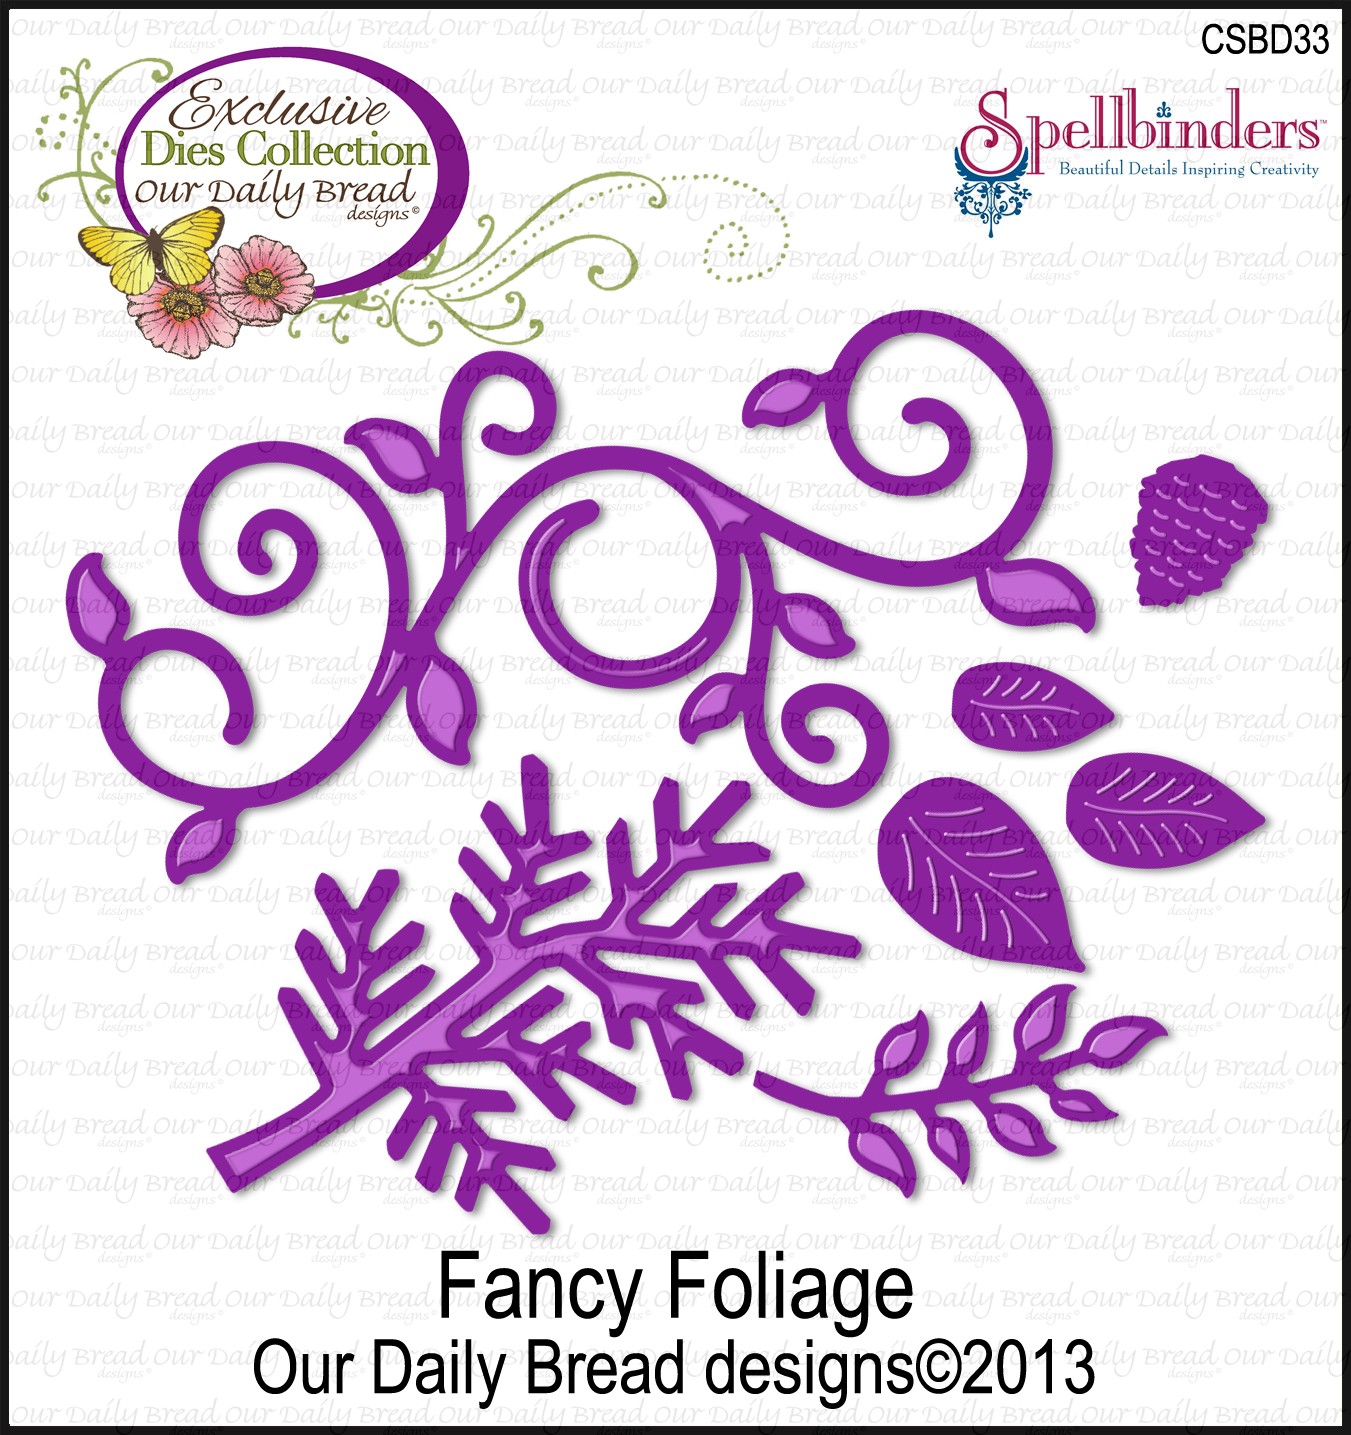
I started out with a 5.25 by 5.25 white card stock base.  I also cut another piece of card stock measuring 5 x 2.5  to create the base it would eventually rest on.  I scored the narrow side (2.5 inches) every 1/4 inch and folded to create my base.  After adding a lovely floral print and stamping my sentiment in the center (Happy Easter Flourish) I added a bit of polka dotted pattern on the outside.  I used the Double Stitched Circles Die to create my gallery along with one larger circle die to create the "frame."  I adhered the gate fold stand to the bottom inside of my card with adhesive tape and added a bit of green grass (Grass Die).  I stamped this darling little lamb (Sheep Single) on Copic compatible paper and lightly colored him.  Once I was satisfied with the coloring, I pulled out the new Little Lamb Die and cut my image out.  I created the fun flowers with white card stock and Pretty Posies Die.  After cutting, I inked each blossom with a soft purple distress ink on the edges and a bit of soft yellow inside.  I moistened each blossom layer with a water mister and worked the blossoms with my hands and a paper shaping tool to reach the desired effect.  A bit of greenery (Fancy Foliage Die) adorns the corner.  

So here are some of the items you see today...


Thanks again for stopping by!  Be sure to visit the ODBD Blog if you get lost along the way...  Here are my design team sisters who have some amazing projects to share.  God Bless You!

Cathy * Robin T. * Julie * Robin C. * Dawn 
Lori * Sandee * Sabrina * Silke * Chris*

Saturday, January 30, 2016

ODBD ~ Wishing Well ~

I love to color.  And with the popularity of adult coloring books, many other people must love to color too!  I don't have the time I once did to color images.  But when I do, look out!  I will be hunched over my desk for hours!  **and my back loves to tell me about it**

Today, I have an image to share from Our Daily Bread Designs' Wishing Well set.  I stamped the image on Copic compatible paper, colored it and used a few dies to frame it.


I started with a deep navy card stock base and trimmed the DP (Christian Faith Paper Collection) slightly smaller for my mat.  I also cut another panel, also slightly smaller with white card stock.  I used the Leafy Edged Borders Die to create a wave border and slightly offset the white panel to create an area for my die cut sentiment.  After coloring my image, I used the Circles Die to cut it out and used a soft blue ink and scalloped punch to create a cloudy sky.  I pulled out the coordinating Double Stitched Circles Die and created a mat layer with the dark navy paper.  
I love using dies for my sentiment!  So fun! 

Here are the items you see on today's project.


Copic colors - YG13, YG17, C1, C3, C5, C7, E31, E35, E25
Inks - Memento Summer Sky, Tuxedo Black
Card Stock - SU Night of Navy, Georgia Pacific White


Thursday, December 31, 2015

Let Faith Be the Bridge ~ A Vintage Card


I love looking at old pictures of our community.  Recently, I discovered an online history group for our hometown.  And I have been enjoying the old sepia toned pictures of our past.  So in the spirit of those photos and the beautiful vintage photo albums they are nestled in, here is a card featuring Our Daily Bread Designs' Safe Travels stamp set.  


I even used some old photo corners I had in my crafting stash...  SO fun!
 
Here are the items you see today...


Thanks for stopping by!  And I hope you have a fun and SAFE New Year's Eve!  Don't forget to stop back tomorrow and check out Our Daily Bread Designs' January release!

Tuesday, December 29, 2015

A Saddle Up Thank You

Happy Wednesday!  We are barreling toward a new year and that means those dreaded RESOLUTIONS..  Are there any special resolutions you are making this year?  I hope to take better care of myself, eat less and rest more.  Not sure how I will accomplish all of these lofty goals but they sound good, right?
 
Today, we have a fun card featuring a few items from Our Daily Bread Designs' December release.  I just love this horse image and decided to try my hand at creating a palomino.  Not so sure how well I captured it but I certainly enjoyed the creative process.  ;-)


And the stamp set  you see used on this project...


Rectangles Dies (NEW) 


Thanks for stopping by!
 

Wednesday, December 2, 2015

WAW212 ~ Luke 7:14 ~

It is officially the middle of another week!  And you know what Wednesday means...  it's time for another great challenge at Word Art Wednesday!
  
Be sure to check out the Word Art Wednesday site for all of the details including this week's digital scripture, how to link your creation AND info on some fabulous prizes! 
We appreciate our sponsors so very much!  Please take a few moments to thank those who generously provided our prizes this week!


I started with a white card stock base and added a red mat.  I stamped the Fair Isle design with Versamark ink on black card stock before embossing with white embossing powder.  After printing the scripture on white card stock, I cut and embossed it using a circle die.  I added a paper die cut poinsettia, greenery and twigs to adorn the corner.  

Thanks for stopping by!  

Supplies

Double Stitched Circles Die 
Merry Mosaics Die 
Lovely Leaves Die 
 

Tuesday, December 1, 2015

Welcome to December and the ODBD Blog Hop!

Welcome to Our Daily Bread Designs' December release and blog hop!  It is hard to believe that Christmas is just a few weeks away!  WHERE did the time go?  This month ODBD has some wonderful designs that work well for a variety of occasions.  And we all know it is UBER hard to come up with masculine cards.  All of the designs work well for those special "manly" projects IMHO.  Plus, did I mention a new series of dies perfect for framing your sentiments and images?  I can't wait for you to see them!  ;-)
And don't forget to hop along with our design team today BECAUSE you could win a gift certificate to the ODBD store, so you can purchase some ODBD stamps!  Check after today's projects for all the details.  But for now, let's hop into my first project using the new Safe Travels stamp set along with a couple of new die sets, Rectangles and Double Stitched Rectangles.

 I started with a white card stock base, adding a bit of Kraft.  I chose a couple of coordinating designer papers from ODBD's Christmas Paper Collection 2014, halved them to fit my Kraft panel and distressed the edges before adhering.  I covered the seam with white seam binding and a lace die cut from the Beautiful Borders die set.  I stamped my image on Neenah paper with Memento Tuxedo Black ink and colored my image with Copics.  I added a bit of glitter glue along the eaves of my bridge and along the snow on either side.  A bit of gray and blue inks softly sponged on top create the sky.  I used the new Rectangles die to cut and emboss the image and the new Double Stitched Rectangles die to create the Kraft mat.  I finished it up with a seam binding bow and stamped sentiment square nestled on top. 

So here are the new items I used...


And if the bridge scene isn't darling enough...  there is an image perfect for horse lovers...


Since my husband used to raise thoroughbreds (and I have a lovely retired one name Ally living on our farm) these beauties were colored to look like them!  I started with a rich cocoa card stock base and added a slightly smaller DP panel from ODBD's Vintage Ephemera Paper Collection.  I embossed a band of cocoa card stock with the Boho Background Die and added it to break up the DP design.  After colored my image (from the new Saddle Up stamp set) with Copic I cut and embossed it with the new Double Stitched Circles Die.  I used a smaller die to highlight my sentiment panel and after adding both with dimensional foam added some twigs (Lovely Leaves Die) and a jute bow.

Here are the new items you see on this project...


Aren't they super cute?  I can't wait to play some more with these fun sets...  And here are some of the older items  you see used today....


 So now more information about our blog hop and how you can win...

Three randomly selected winners will each receive a $25 gift certificate to the ODBD Store, to be used toward the purchase of ODBD Stamps found in the "ODBD stamps column" of the website just for commenting on the Design Team cards!  You have until December 2, 2015 at 9:00 p.m. EST to leave your comments on the Designers Blogs for a chance to win!  The Winners will be posted on the ODBD Blog on December 3rd, so be sure to check back there to see if you won!

ODBD Blog  ** if you get lost along the way...

Julie * Dawn * Amy * Cathy 
Lori (ME) * Sandee * Robin * America * Angie
Lisa * Grace * Sabrina * Chris * Silke

Surprise!!! It's Best Bunny!

There is something about Granny Apple Green that just brings a smile to my face!  When the first signs of Spring appear you are sure to see...