Showing posts with label Fancy Foliage Die. Show all posts

Friday, June 16, 2017

Time for a Look Back at June's Release at ODBD

Good morning and welcome to a special look back at this month's Our Daily Bread Designs release. 
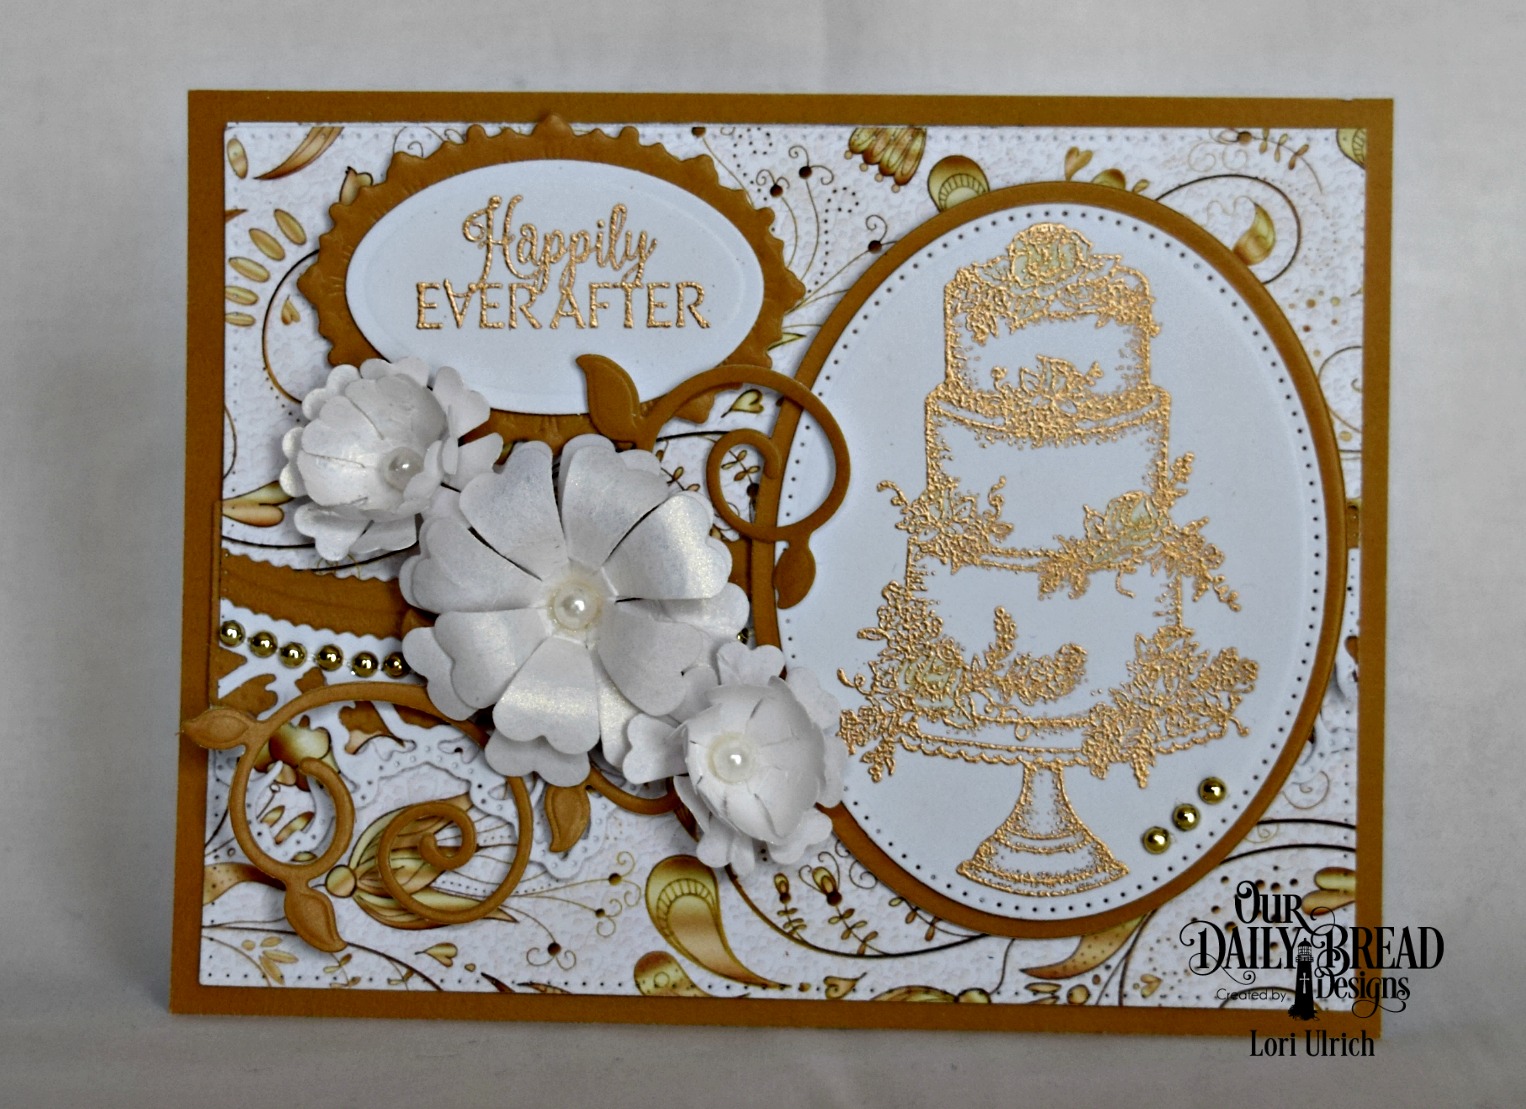
Here is the project I created using Long Lasting Love stamp set and Wedding Wishes Paper Pad.  For more inspiration using the June Release be sure to visit the ODBD Blog.
I started with a gold base measuring 5.5 x 4.25 inches from the Wedding Wishes Paper Pad collection.  I selected a coordinating gold and white print (also from this collection) and used ODBD's Pierced Rectangles Die to cut out the DP layer, white card stock layer (to create the lace layer) and another sheet of gold DP.  Once I cut the three layers, I used the Leafy Edged Borders Die to create the wavy layer (including the white lace layer.)  I stamped my image (from the new Long Lasting Love with a watermark ink on white Card Stock) and embossed the image with gold embossing powder.  I die cut the image using the Pierced Ovals Die and nested a gold mat layer underneath using the Ovals Die set.  I created the floral spray with white card stock and the Pretty Posies Die along with the gold DP and ODBD's Fancy Foliage Die.  I treated the blossoms with Iridescent Gold Glitter Mist and added seed pearls with a clear glue to each center.  The sentiment (also embossed and from the Long Lasting Love stamp set) is matted with ODBD's Ornate Ovals Die.
Here are the new items you see...


and a few old favorites...


Thank you for stopping by!  Please take a few moments to visit my design team sisters and leave some love!  We love hearing from you and appreciate your comments!  Blessings...

Sandee * Lisa * Cathy * Diana * Julie 
Kathy * Robin * Lori (ME)Helen * Dawn * Sabrina

Friday, April 14, 2017

A Look Back at ODBD's April Release

Good morning and welcome to a special look back at Our Daily Bread Designs' April Release.   
 For this project, I used the Luminous Lantern DieRose DieRose Leaves Die and Lovely Flower stamp set...For more inspiration using the April Release be sure to visit the ODBD Blog.  And check the end of today's post for links to all of the DT members.  Take a peek at some of the items they created with the April release.


You see a few old favorites as well...

I covered each of the 5 panels with die cut vellum using ODBD's Rectangles Die and the green vines were created with the Fancy Foliage Die.  I stamped the sentiment on white card stock and used the Pennant Flags Die cut down to fit the front panel.  A bit of scrap seam binding was woven and tied on top...

Here are the new items you see...


and a few old favorites...


The "Bread Sticks"
Dawn * Cathy * Lori (ME)* Helen * Kathy * Lisa 
Diana * Sandee * Julie * Sabrina * Robin

Thanks for stopping by!

Tuesday, February 14, 2017

Happy Valentine's Day!

Today is a day to celebrate all of those special relationships in your life...  your spouse, your children, your parents and your dearest friends!  Don't forget to tell all of the Valentines in your life how much you love and appreciate them!

Happy Valentine's Day!  


Layer by Layer...

  1.  White card stock 4.25 by 11 inches, scored and gate folded at 5.5 inches
  2.  Slightly smaller Cherry Cobbler CS mat
  3.  White CS - Our Daily Bread Designs' Lavish Layers Die
  4.  Cherry Cobbler CS - ODBD's Rectangles Die
  5.  White CS - ODBD's Lavish Layers Die
  6.  Cherry Cobbler Ink - ODBD's Happy Valentine's Day
  7.  Green CS - Fancy Foliage DieBitty Blossoms Die
  8.  Cherry Cobbler CS - Bitty Blossoms Die; Recollections Clear Microbeads in Crystal Glaze
The items you see...


Until next time...

Blessings...

Friday, June 10, 2016

RS217 ~ Put on the Full Armor of God ~

Happy Friday!  Today I have a card to share using
Our Daily Bread Designs' Full Armor stamp set.


I started with a white card stock base and added a bit of tropical blue card stock cut and embossed with ODBD's Pierced Rectangles Die.  I created my custom DP using ODBD's Medallion Background stamp.  I stamped the image on white card stock with Versamark Embossing Ink and added white embossing powder.  After heating and cooling, I gently added a soft green ink, tropical blue ink and a rich blue ink gently wiping away the excess.  I love the ombre feel to this panel!  I cut and embossed it also with the Pierced Rectangles Die.  I stamped my sentiment (Full Armor) with a soft green ink on white CS and used ODBD's Circles Die to trim it our.  I added a bit of coordinating blue CS cut with the Pierced Circles Die for my mat.  I added a few custom flowers made from white card stock and ODBD's Pretty Posies Die.  I inked each with a rich blue ink, spritzed with a spray bottle, blotted up the excess and distressed away!  After shaping and drying, I added the layers to together and placed them on my card over soft green foliage (Fancy Foliage Die).  I finished up with a few gold micro beads glued in each center.  And I added a cut little blue die cut butterfly (Bitty Butterflies Die.  
Here is the new set and die I used today...


and some old favorites...


and the link to this week's Retro Sketch Challenge and
the sketch itself...  My card was based on this sketch...

Thanks for stopping by!

Saturday, June 4, 2016

CTD395 ~ Sending My Prayers ~

I really do enjoy a good challenge.  Give me a color palette, sketch or idea and I am good to go!  This project is for the weekly Color Throwdown.  You can see the color palette a bit later in the post along with the other challenges I am playing along with today.  I had so much fun creating this card that I just have to jump right in!


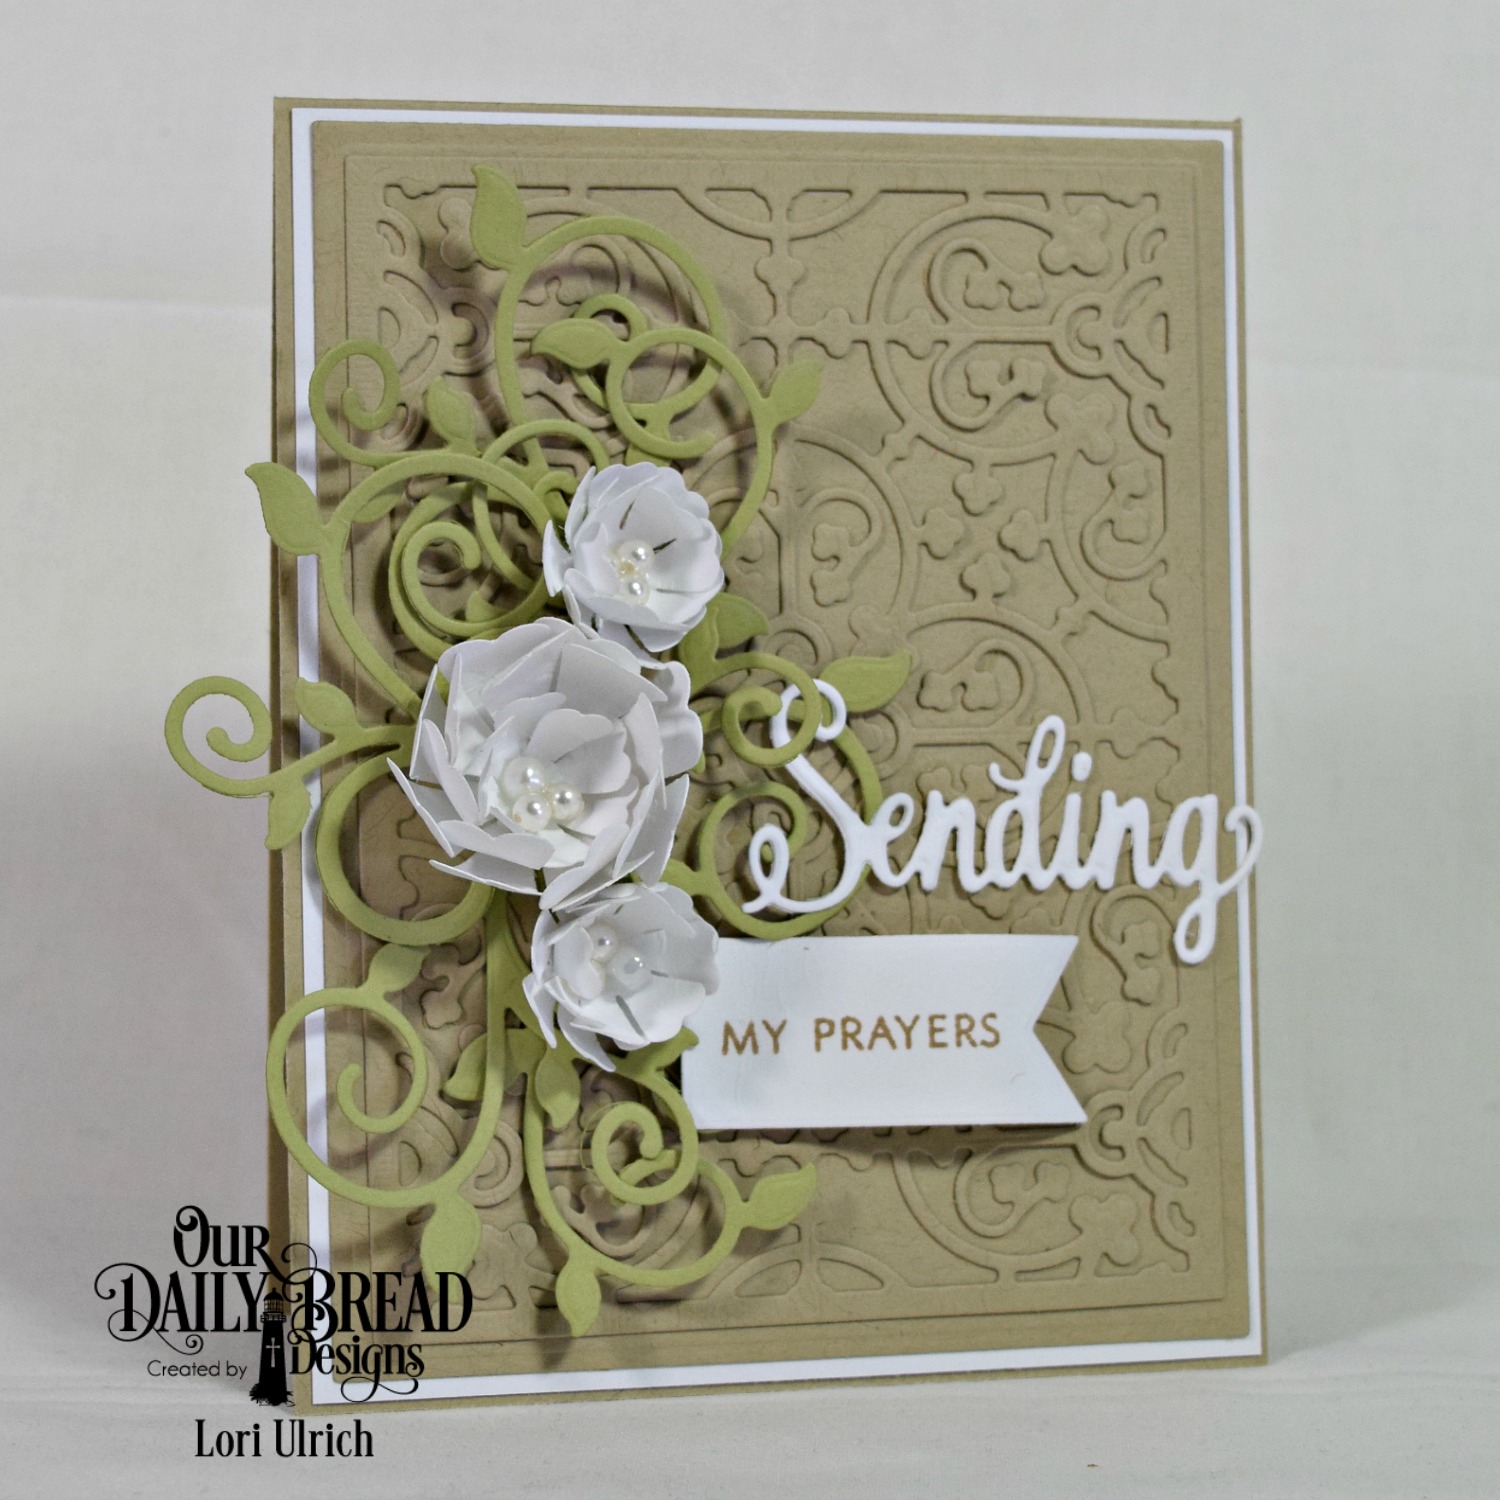
I started with a 4.25 inch by 11 inch base (Stampin' Up Crumb Cake) scored and folded at 5.5 inches.  I trimmed up a bit of soft cream colored CS to make a slightly smaller mat.  I pulled out Our Daily Bread Designs' Majestic Medallion Die for the base and lattice layer (also created with SU Crumb Cake).  I die cut some foliage using ODBD's Fancy Foliage Die out of a soft sage card stock, cut and adhered to create my "spray."  I used ODBD's Pretty Posies Die, cream card stock, water mister and shaping tool to create my posies before adding a few pearls in each center and adding to my spray.  I stamped my sentiment on cream CS (Sending My Love Stamp/Die Duo) with coordinating Crumb Cake Ink.  I wrapped the sentiment panel lightly around a pencil until I got the desired shape and adhered it near the bottom of my flowers.  I added sentiment panel (also in soft cream card stock) to finish it off.  

So here is the color palette and LINK...


and some of the items you see today including this 
June release from ODBD...


Other Challenges-

Southern Girls Challenge - Layers
Crazy 4 Challenges - C4C333 - Make it Floral

Friday, January 1, 2016

A New Year, New Release and Blog Hop at Our Daily Bread Designs!

Welcome to another fun release at Our Daily Bread Designs.  We have so many items to share including journaling stamps plus more dies!  I can't wait to show you a couple of projects I created using these new items.  But before we get started, you need to know we are having a blog hop.  And as we do most months, today three randomly selected winners will each receive a $25 gift certificate to the ODBD Store!  It can be used toward the purchase of ODBD Stamps found in the "ODBD stamps column" of the website just for commenting on the Design Team cards!  You have until January 2, 2015 at 9:00 p.m. EST to leave your comments on the Designers Blogs for a chance to win!  The Winners will be posted on the ODBD Blog on January 3rd, so be sure to check back there to see if you won!
 
But first you have to see some of these new items.  And if journaling hasn't caught your fancy yet and/or you don't feel comfortable stamping in a Bible...  there are MANY more ways to use them!  Check out all of the designers today to get some great ideas on how you can incorporate journaling stamps into your stash!
 
So here is my first project using ODBD's new Wishing Words stamp set...
 

I started with a soft cream card stock base, trimming two coordinating papers from the Blushing Rose Paper Collection and covering the seam with an ecru die cut from the Beautiful Borders Die set.  I stamped the sentiment (from the NEW Wishing Words set) on cream card stock and used the NEW Circles Die to cut and emboss it.  I added a hand crafted blossom (Paper Posies Die) with greenery from the beloved Fancy Foliage Die.
Here are the new items you see...


 and some old favorites...


 Now on to one of the new journaling stamps...
Each year I purchase a planner to keep all of my personal and work appointments straight.  I use a phone for this task as well but I still like to see things in "writing."  I usually purchase a planner which a reading plan for my Bible.  That way I am sure to read the entire Bible in a year...  I can mark off assigned readings as I go through the year...  

So I decided to pull out my 2016 planner...  go to July 4th and stamp this gem...  The Nation...
I used washi tape to mark the day as well and colored my images with twistable crayons...  I also added a bit of glitter glue to the stars...

No boring planner for me!  lol
 
So here's the journaling stamp used on this project...


and don't forget to check out all of the designers to play along with our hop AND get some fabulous ideas for using these stamps!  They aren't JUST for journaling!!!!
 
ODBD Blog  ***  IF you get lost along the way... 

and the Breadsticks

Cathy * Julie * Dawn * Robin C
 Robin T. * Lori (ME)* Sandee
Angie * Lisa * Chris * Sabrina * Diana * Silke

Friday, October 23, 2015

A Look Back at Our Daily Bread Designs' October Release

Good morning and welcome to a special look back at this month's Our Daily Bread Designs' October 1st release.  Here is the card I created using Christmas Tunes. For more inspiration using the October Release be sure to visit the ODBD Blog. I started with a 5.25 x 5.25 rich red card stock base and layered it up.

I chose this sentiment from the new Christmas Tunes set and used the coordinating Vintage Labels Die to cut it out.  A bit of greenery and a lush poinsettia (Fancy Foliage and Peaceful Poinsettias Die) set off the corner.  If you look closely you can even see a couple of jingle bells in the mix!  I adhered two sheets of the new Christmas Paper Collection 2015 pages together and folded them back to create my pocket.  The Doily Die and Ornate Borders and Flowers Die accent it. 

So here are the items you see today...


and some old favorites...


Don't forget to stop by and visit my design team sisters to see what they have created!  Thanks as always for stopping in!

Blessings...


Sandee * Cathy * Julie * Robin * Amy 
Dawn * Lori(ME) * America

Surprise!!! It's Best Bunny!

There is something about Granny Apple Green that just brings a smile to my face!  When the first signs of Spring appear you are sure to see...